Use the Module Maker to create engaging content for your learners.
The Module Maker is our authoring/content-creating tool. The place where you can create learning content from scratch or upload already existing content with SCORM files. In this article, we will cover the many different features of the Module Maker.
If you need more quick tips and tricks, take a look at our article "Module Maker: Slide Types" and learn more🧠
Before starting with your content, we recommend that you have the basic structure of the module in mind. Therefore, we have created a step-by-step guide on module making at the bottom of this article.
Choosing a module type
When you create a new module, you will have to select the module type that suits the content you want to create the best. There are 3 different types to choose from:
Lesson
The Lesson module type contains a limited amount of slides but can be used to present information by using a variety of text, images, videos and other media.
Quiz
Besides the slides available in the Lesson module type, the Quiz module type contains various interaction slides, from classic Multiple or Single choice questions to engaging Fill in the blanks, Hotspot slides and more!
You can create a quiz when you want to engage with your learners. Ask them questions, test their knowledge or invite them to reflect.
Our best practice is to use this module type so you have all of the elements in a lesson and even more with the interactions.
Anonymous survey
The Anonymous survey type contains all the slides found in the Quizzes with the addition of a Range and Rating slide.
You can create an anonymous survey to evaluate physical courses or training or digital learning or to create more generic surveys. As the title suggests, all responses you receive from this module type are anonymous.
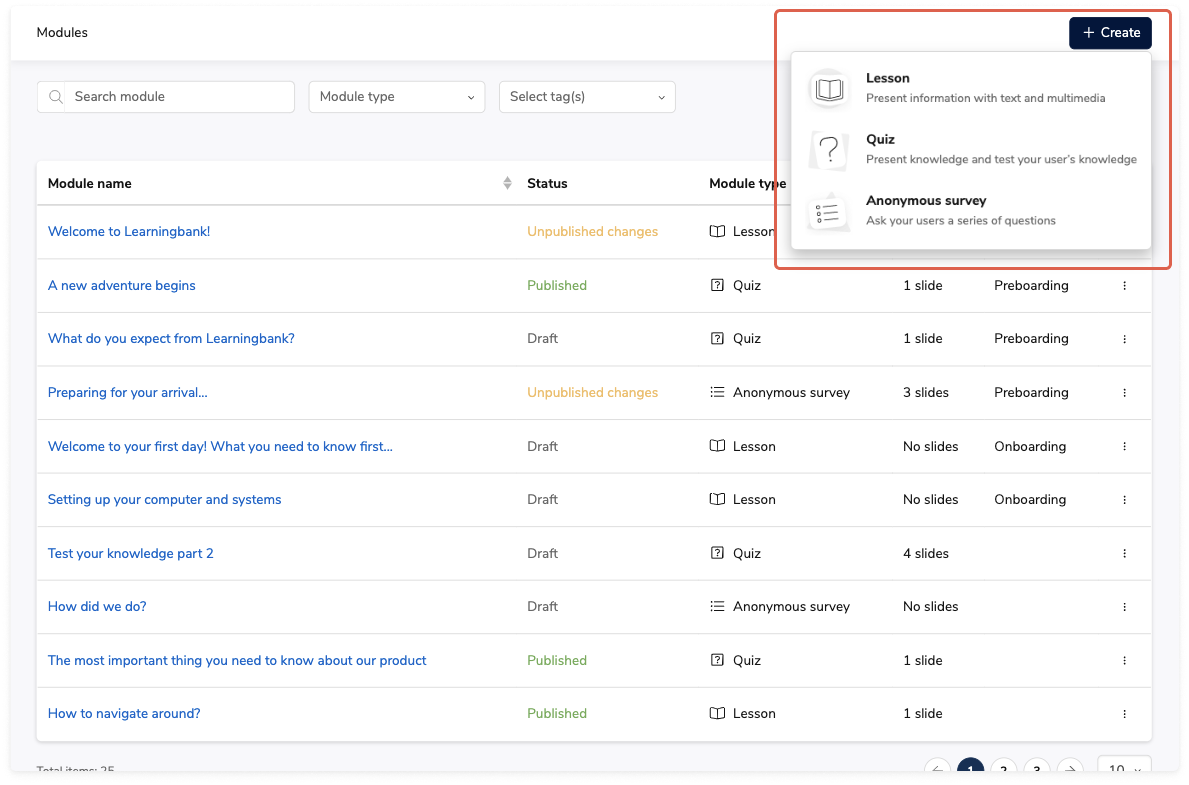
The picture above shows you where to find the different slide types.
Creating your first module
Now you are ready to create your first module! The following shows you step by step, including pictures, how to succeed in doing so.
Naming and describing your module
Every module starts with a title slide, which is visible to admins and users. Here, you can add a catchy title for the module and a short content description. If you don't want users to see this, you can enable the slide in the top right corner by toggling the "skip introduction" button on.

Adding slides
To add a slide, click the plus button at the bottom of any slide or in the panel to the left.

You can see an overview of all slides in your module by scrolling in the left sidebar, where the heading of the slides will be visible. Like that, it'll be easy to find the exact slide you're looking for.
Slide types
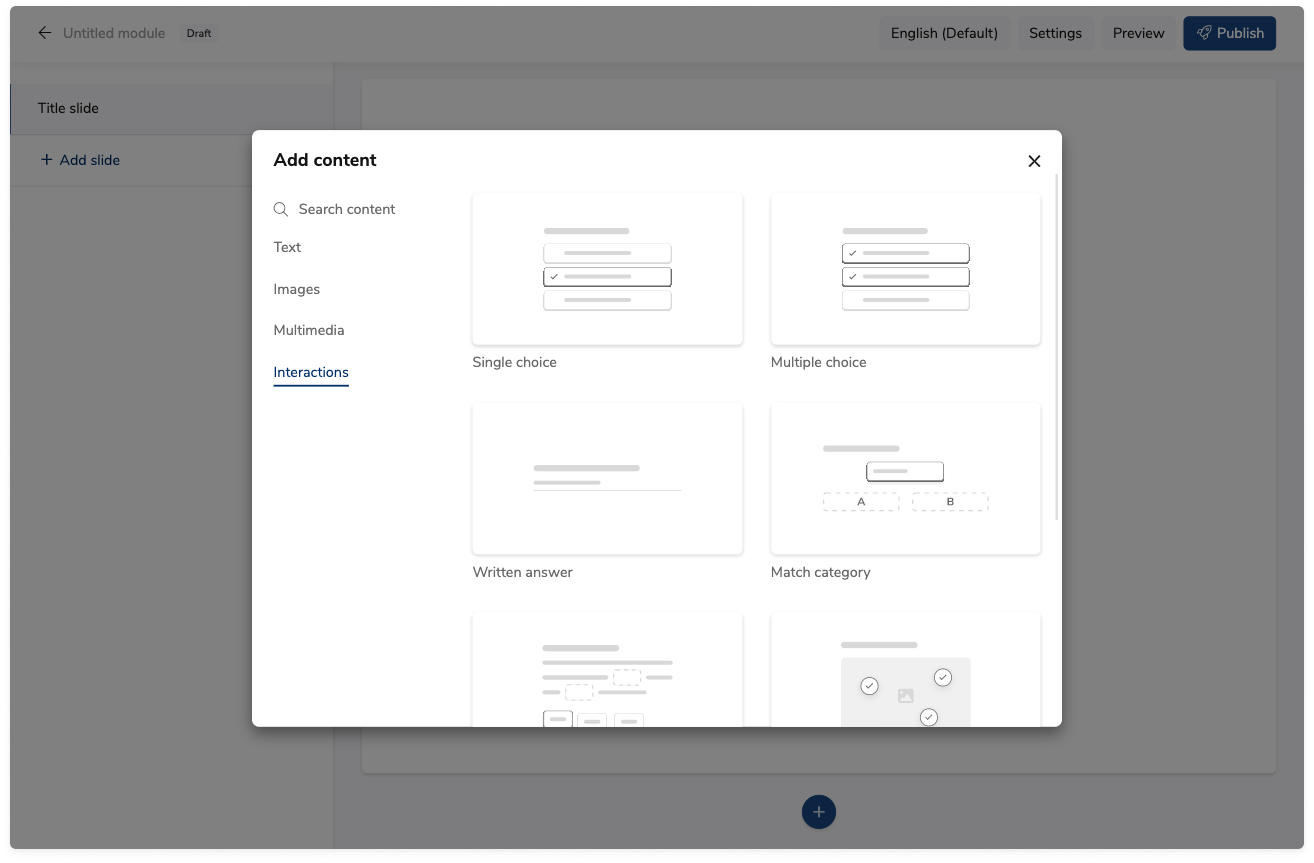
When you click the plus button, a pop-up appears with a visual overview of all the available slides. You can navigate between the different slide types on the left side (Text, Images, Multimedia, Interactions) or search for the exact slide you need by typing the name in the search field.
Tip💡 Hold the SHIFT key on your keyboard to add more than one slide at a time!
Adding content
It is time to add content for your users, make your module look appealing, and provide all the necessary learning.
Text input
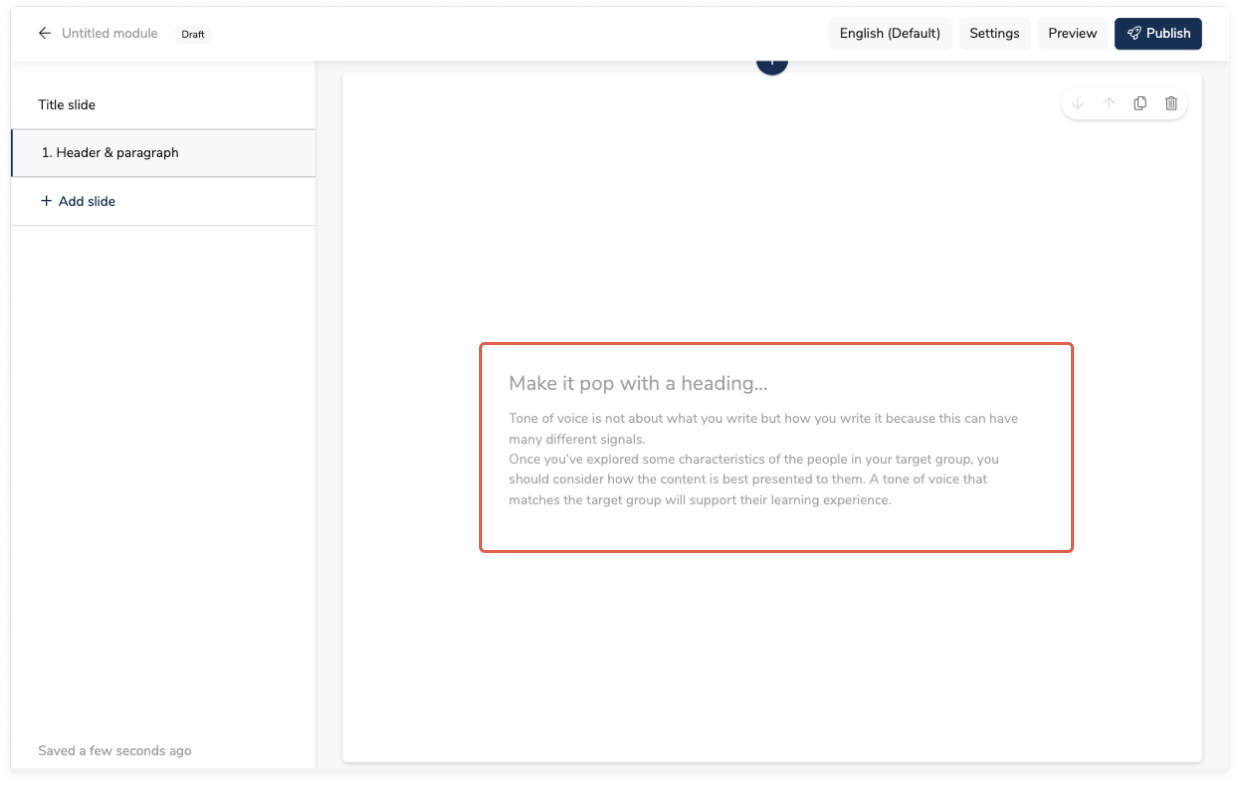
You can start typing your text simply by clicking on the greyed-out placeholders.
Formatting
When selecting the text, a pop-up appears. This pop-up allows you to format your text. Change the font type and size, emphasise your text by using bold, underlining or colours, as well as align your text or create lists.

Images
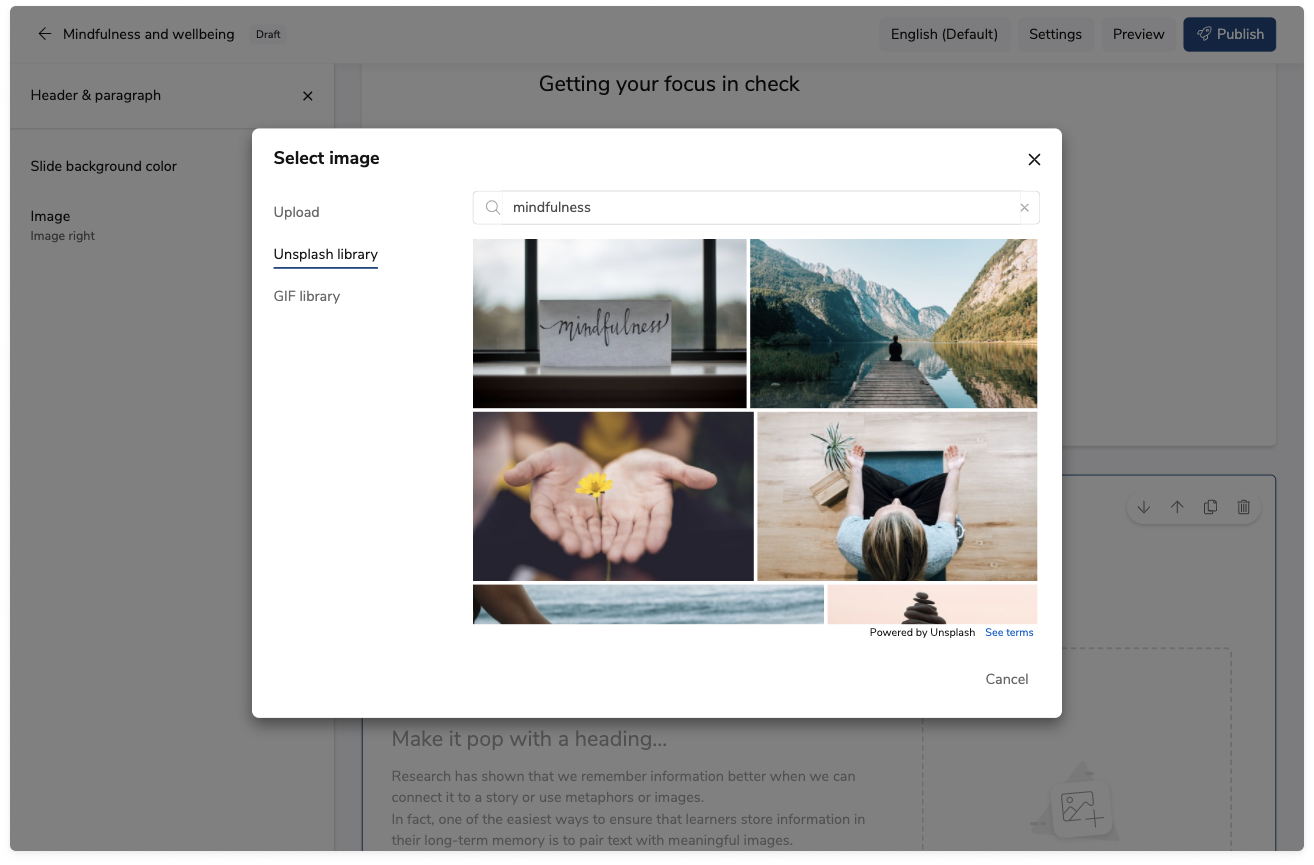
When you add a slide containing an image placeholder, you can drag and drop an image to upload or click to browse. When you click the placeholder, a pop-up appears. Here, you can browse and upload a picture from your computer or use the Unsplash and GIFY libraries to find free high-quality pictures or engaging gifs.
After you have selected an image, you can crop, rotate or flip it vertically and horizontally. You can add captions to all gifs and images.
Slide Settings
Whenever you click on a slide, the slide’s settings open on the left. Different slide types allow different types of settings:

Slide Color or Image
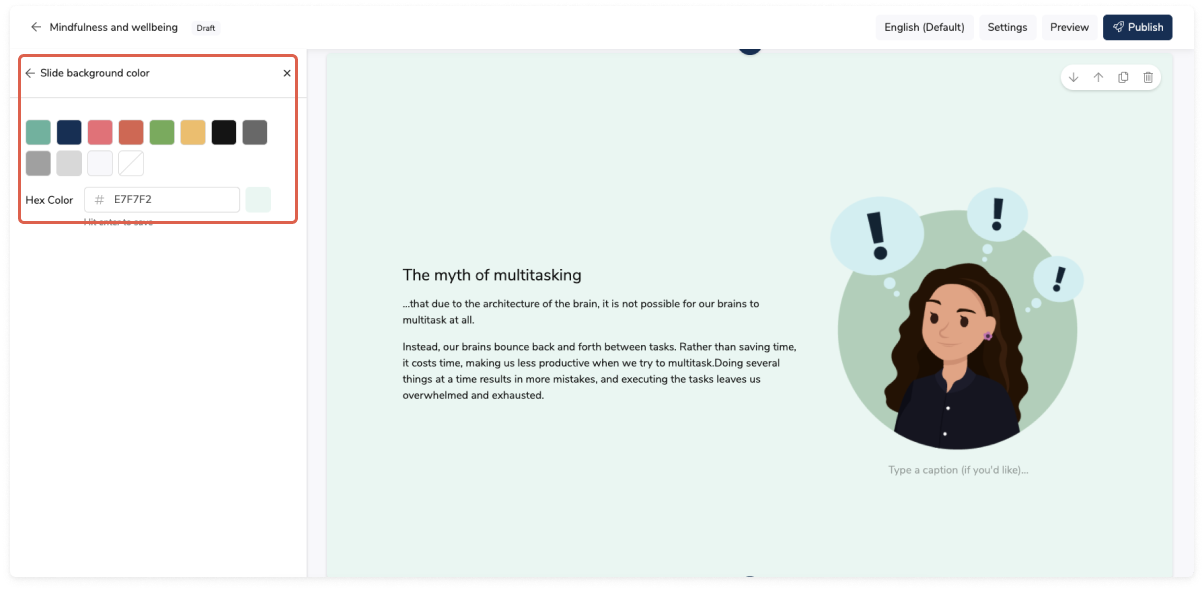
You can change the background colour of a slide to either one of your brand colours or a different colour of your choice with the Hex colour or add a picture as the back ground.
To do this you click on the slide for the sidemenu to appear.
Here you click 'Background'. By deafoul you will see the colour choices and by clicking the arrow you will find the Image setting.
Here, you drag an image into the box or click the box to browse one from your computer.
Then you can play around with the transparency of the image, and when you are happy with the looks of it, remember to check your slide in the preview before publishing to make sure that it looks good on all devices.
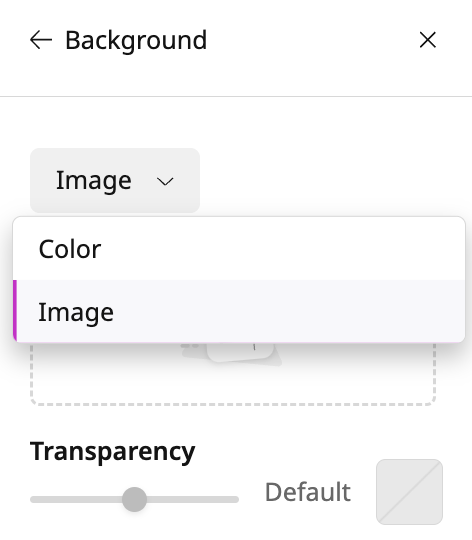
Image Position
You can change the position of an image from left to right or decide not to have an image at all in your slide.

Feedback
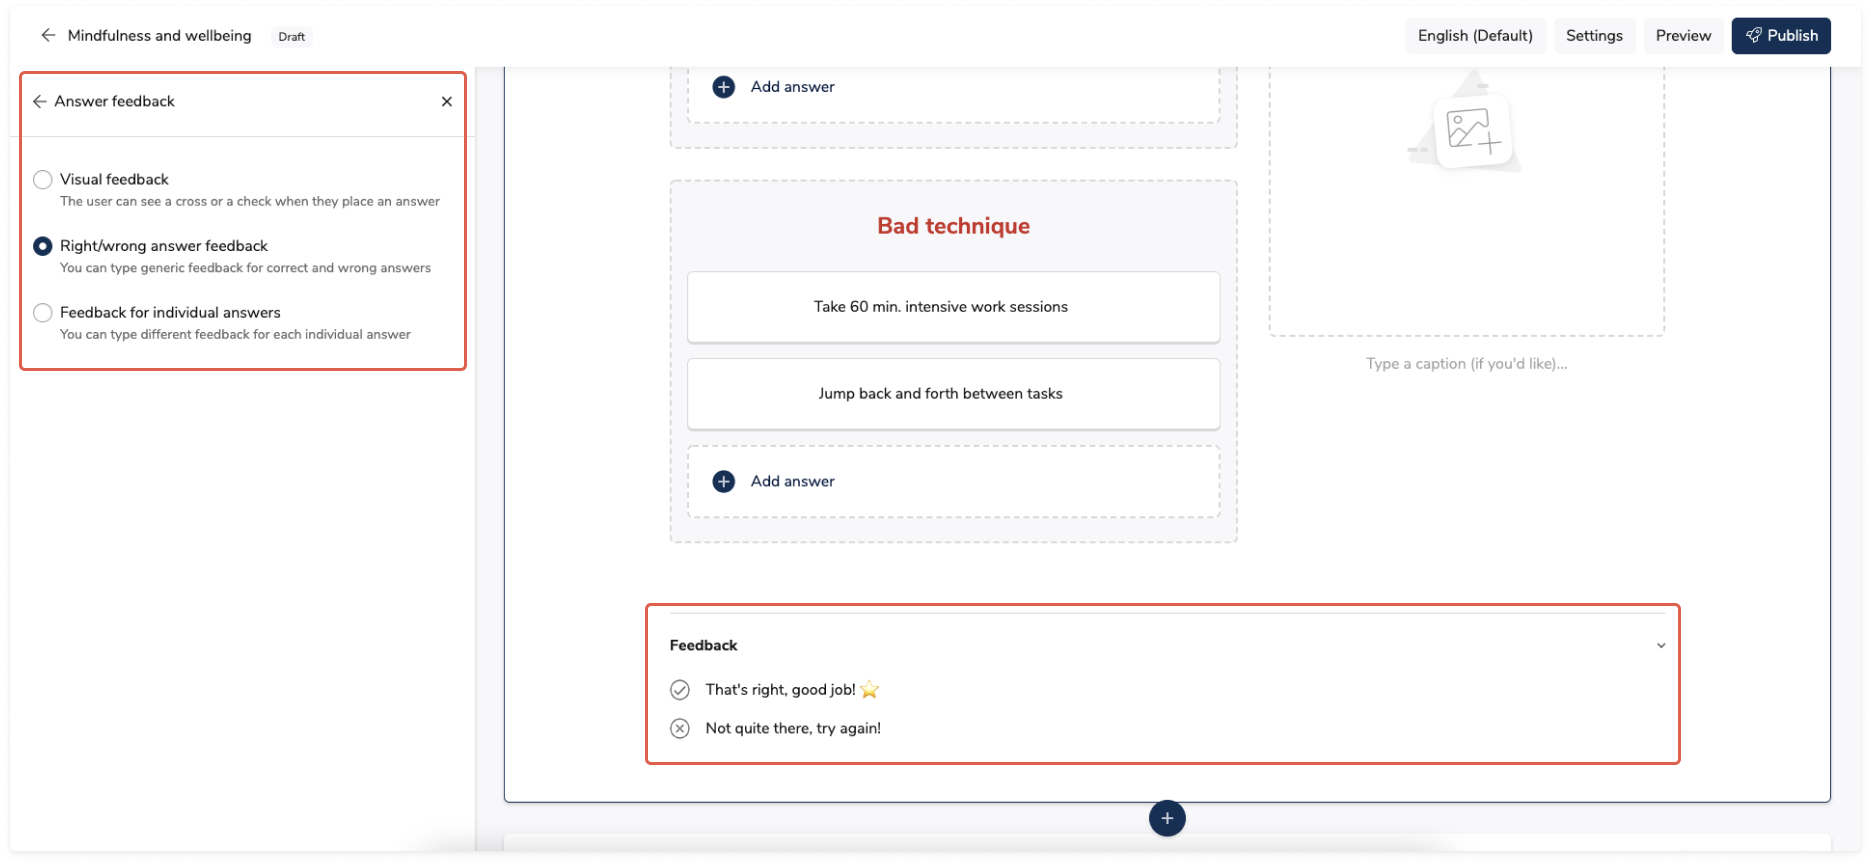
Most of the interactive slides have the possibility to add feedback. You can add feedback for all correct and wrong answers for Multiple Choice, Single Choice and Sequence. For Hotspot, Drag & Drop and Fill in the blanks, you can add feedback for each individual answer.
Navigating through the slides
You can see an overview of all slides in your module by scrolling. Also, to improve the slide navigation, the heading of the slides will be visible in the slides overview. Like that, it'll be easy to find the exact slide you're looking for.
Module settings
All module settings can be found by clicking the settings in the top bar. We have three tabs that you can choose from.
General
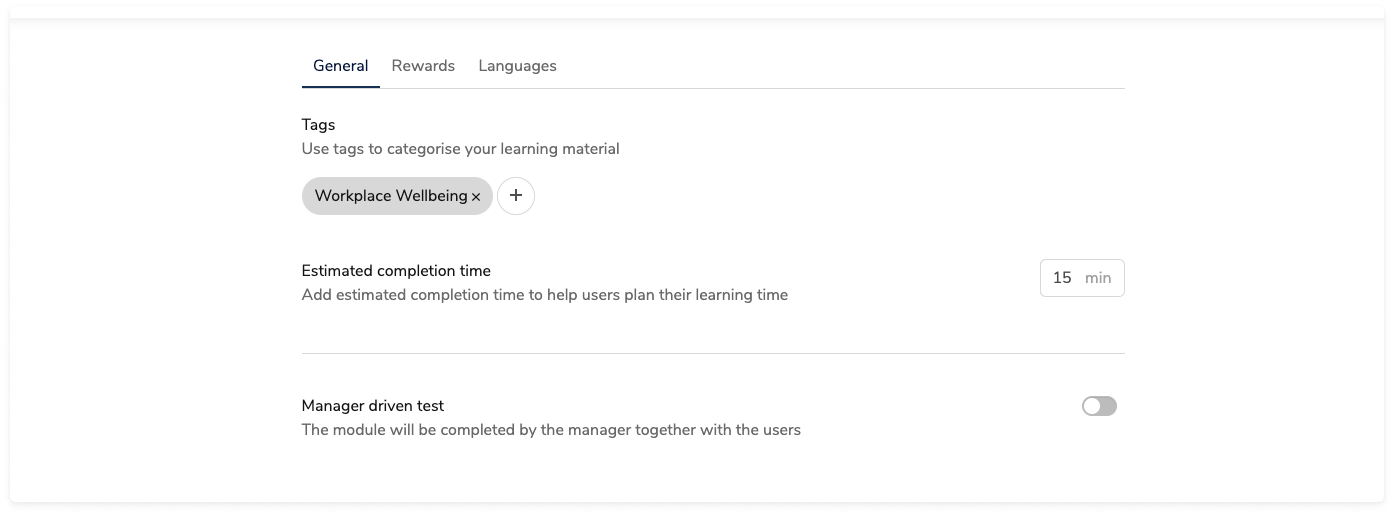
In the general tab, you can add tags to your module, write an estimation of how long it takes to complete the module or make the module manager driven.
Rewards
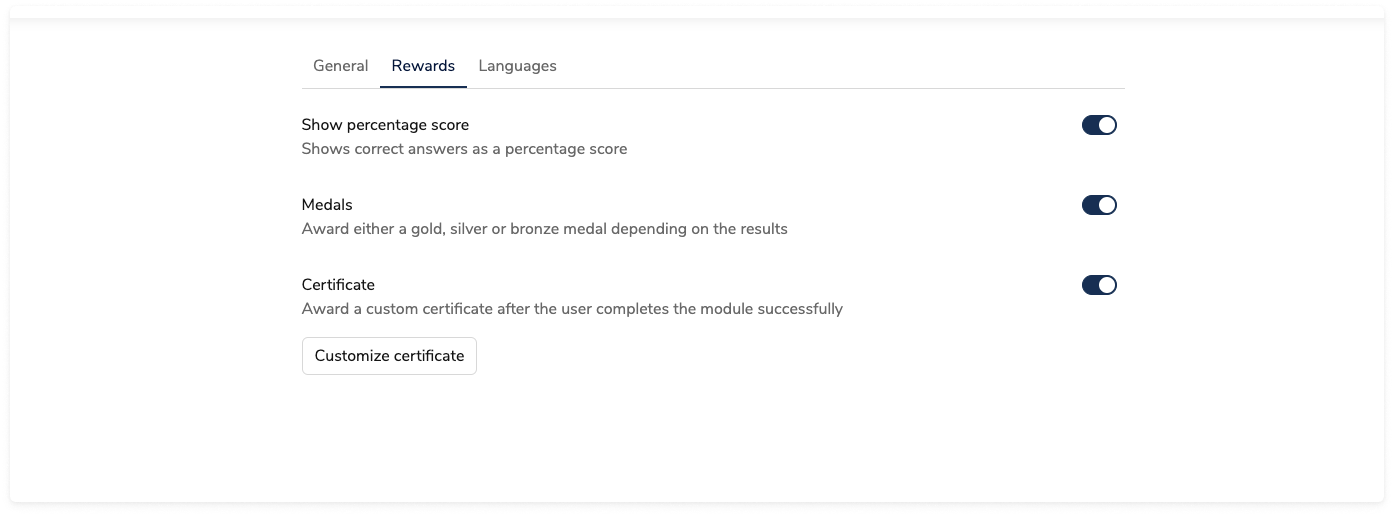
In this tab, you can reward your learners at the end of a module.
-
Show percentage score (for the quiz only): you can show the percentage of correct answers to the learner.
-
Award medals (for the quiz only): you can award gold, silver or bronze medals depending on the module results.
-
Award a certificate: when a module is completed successfully, you can award your learners a customisable certificate.
Languages
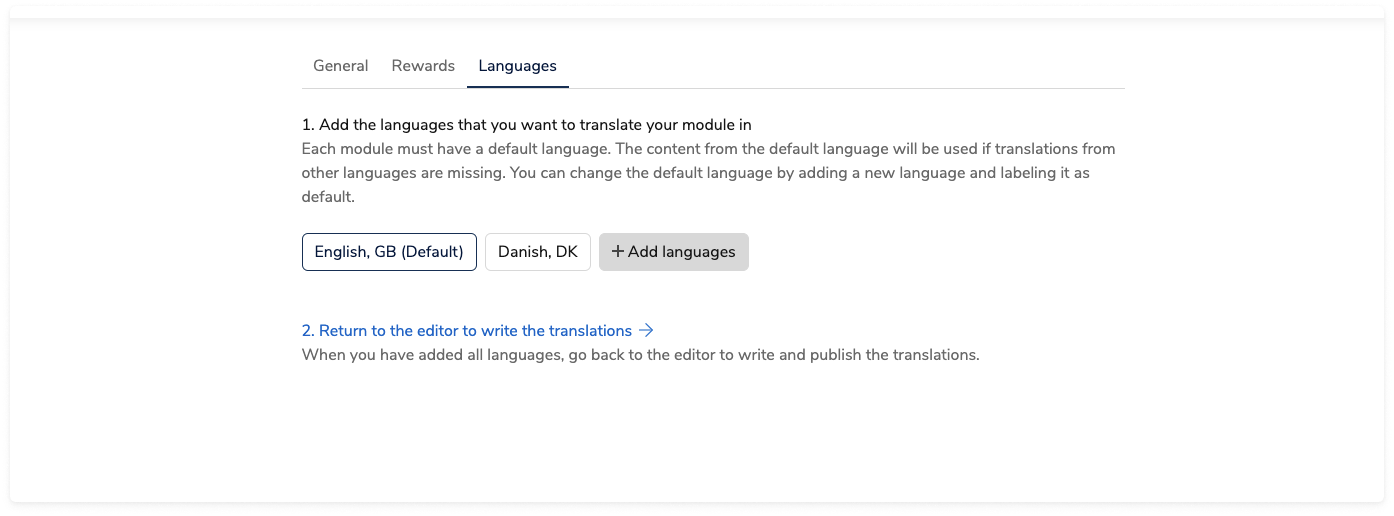
You can translate your module into as many languages as you want. For starters, you need to decide which language is the module's default language. Whenever you create a new module, we use your organisation's default language as the module's default language. You can change the default language by adding a new language and labelling it as default.
The content from the default language will be used if you're missing the translations in other languages.
More specifically:
1. If you have only one language, simply set this language as the default language.
2. If you have multiple languages, you create your content in the default language version first. Then you add the other languages. When you do so, all content from your default language will be copied into each additional language version, where you can edit and translate it.
As a brand-new feature, we have allowed you to translate your content in a few clicks! Try out our Auto Translator and let it translate for you - contact our support for more information.
Publishing a module
At this point, you are ready to publish the module and later add it to a Learning path or directly to a Sharing.
If you forget to navigate to the settings page before you publish, we will show an overlay with the main module settings you can apply.

Draft, Published, and Unpublished changes
The status of a module is visible both in the top right corner of the Module Maker editor and on the module overview. There are three different statuses:
Draft
A module is a draft up until it is published for the first time. In this status, adding a module to a Learning path or a Sharing is impossible.
Published
Published is the last step in the creation and editing of a module. It means that the changes made to the module are active and thus available to all assigned users.
Unpublished changes
If a module has been edited after being published and those changes have not been made available to the assigned users by publishing them, then the status will be Unpublished changes.
Quick tip💡
When you edit a module that has been published before and try to publish it again, you will have to decide whether the users who have already completed the module have to complete it again or not.
For more information, contact our support🚀
